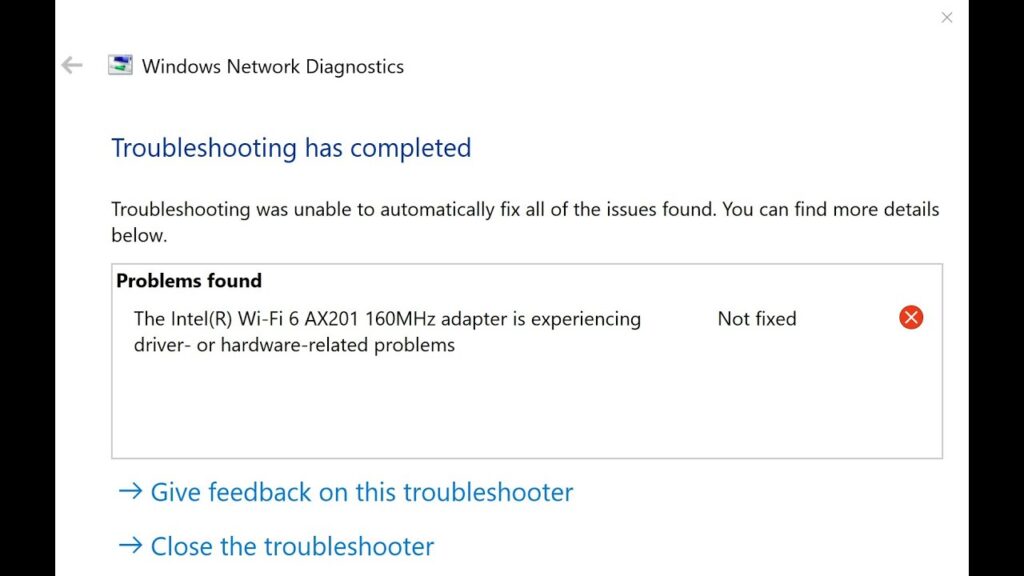
If you’re using a laptop with the Intel Wi-Fi 6 AX201 160MHz adapter, you might have encountered a frustrating issue: your Wi-Fi stops working for no apparent reason. You may get a message from Windows Networking Diagnostics telling you that the Intel Wi-Fi 6 AX201 adapter is experiencing driver or hardware-related problems. Unfortunately, this issue is quite common, and many users find that standard troubleshooting steps don’t seem to solve the problem for long. But don’t worry! In this guide, we’ll go through several solutions to fix the issue, and I’ll share how I resolved it on my Asus laptop.
Understanding the Problem: Why Wi-Fi Keeps Disconnecting
The main issue with the Intel Wi-Fi 6 AX201 adapter is that it’s one of the worst Wi-Fi chipsets Intel has made. Despite being released over a year ago, Intel has yet to provide a stable driver that doesn’t cause crashes or connectivity issues. While some users have found temporary fixes, the problem often comes back after a short period.
Common Solutions You’ll Find Online
As you search for a fix, you’ll likely come across a few common solutions that can help — but they don’t always work. Here are some of the most common troubleshooting steps:
1. Disabling Fast Startup
One solution that may come up in your search is disabling “Fast Startup” in Windows power settings. This option is intended to help speed up your boot time, but it can cause issues with Wi-Fi connectivity. Here’s how to disable it:
Go to Control Panel > Power Options > Choose what the power buttons do.
Click the Change settings that are currently unavailable button.
Uncheck Turn on fast startup (this option may be grayed out initially, so click on the shield icon to enable it).
Save your settings and restart your computer.
Fast Startup is less useful with modern SSDs and can interfere with certain applications. Disabling it can help resolve several problems, including Wi-Fi disconnections.
2. Driver Issues: Update or Rollback
Another common solution you’ll find is to update or roll back your Wi-Fi driver. I tried this approach myself, but it didn’t provide any lasting results. If your Wi-Fi keeps breaking despite having the latest driver, it could indicate that the issue isn’t with the software itself, but with the hardware or the physical connection.
3. Troubleshooting Without Network Access
If you can’t download new drivers because your Wi-Fi isn’t working, there are several ways to get the necessary files:
Use a USB tethering connection from your phone.
Download drivers on another device and transfer them via flash drive.
Use an Ethernet cable if possible.
Going Deeper: Fixing the Issue by Re-seating the Wi-Fi Card
After exhausting these software-based solutions, I discovered that the real issue was physical: the Wi-Fi card was loose in its socket. When carrying the laptop around, even a tiny disconnection of the Wi-Fi card can interrupt the connection. So, the solution involved opening the laptop and fixing the physical connection.
Important Note: Opening your laptop may void the warranty, so check your warranty terms before proceeding. However, for most laptops, this fix won’t affect the warranty, especially if the issue is related to loose hardware.
Step-by-Step Instructions to Fix the Wi-Fi Card
If you’re ready to open your laptop and fix the loose Wi-Fi card, follow these steps. The process may vary slightly depending on your laptop brand, but it should be relatively similar across popular models (Asus, HP, Dell, Lenovo).
1. Preparing to Open the Laptop
Turn off the laptop and unplug it from any power source.
If your laptop has an inbuilt battery, you’ll need to unplug it once you access the interior. This is to prevent any electrical issues while you’re working inside.
Keep a screwdriver handy and note that some screws may be longer than others, so make sure to mark where each screw goes.
2. Opening the Back Cover
Once you’ve removed the screws, carefully open the back cover. Be mindful of any clips or additional fasteners.
3. Finding the Wi-Fi Card
In most cases, the Wi-Fi card is located near the SSD and may be covered by a thin plastic film. In my case, I had to remove the SSD drive first. M.2 SSDs are typically easy to remove with just one screw. Once you remove the SSD, you’ll have direct access to the Wi-Fi card.
4. Disconnecting the Wi-Fi Card
The Wi-Fi card is usually held in place with one screw. Unscrew this, then disconnect the two antenna cables from the card. Take note of where each cable connects, as it’s easy to mix them up.
5. Cleaning the Card and Socket
Once the card is removed, clean the contacts with isopropyl alcohol or contact cleaner. Wait for the cleaner to evaporate before re-inserting the card. This step can help improve connectivity by removing any dirt or corrosion on the contacts.
6. Reassembling the Laptop
Now that the card is cleaned and securely reinserted, it’s time to put everything back together:
Reconnect the antenna cables to the Wi-Fi card.
Screw the Wi-Fi card back into place.
Reinstall the SSD and any other components you removed.
Reattach the plastic film and close the back cover.
Reinsert the battery (if applicable) and screw everything back in place.
Final Thoughts
After performing this fix on my Asus laptop, I’ve had zero Wi-Fi connectivity issues for over three months. The problem was simply that the Wi-Fi card wasn’t securely seated, which caused intermittent connection issues. Since I’ve reseated the card, the Wi-Fi has worked perfectly.
If you’re still facing Wi-Fi problems, it’s worth trying this physical fix. I carry my laptop around a lot, so it’s possible that vibrations cause the card to become loose again. If that happens, I’ll just repeat the process, and that should solve the problem for good.
Hopefully, this guide will help you solve your Wi-Fi connectivity issues and get your Intel Wi-Fi 6 AX201 adapter working again. Let me know if you have any questions, and good luck!