The Asus P8H67 motherboard, released around a decade ago, continues to hold up well for many users. Despite being 10 years old, it remains widely used for various computing needs. The longevity of this motherboard is largely due to Intel’s inability to release significant processor upgrades over the past decade. While the 12th generation Intel processors were a solid improvement, earlier releases, such as the 10th generation, were largely seen as disappointing. As a result, unless there’s physical damage to the board, such as popped capacitors, users continue to rely on the P8H67 motherboard.
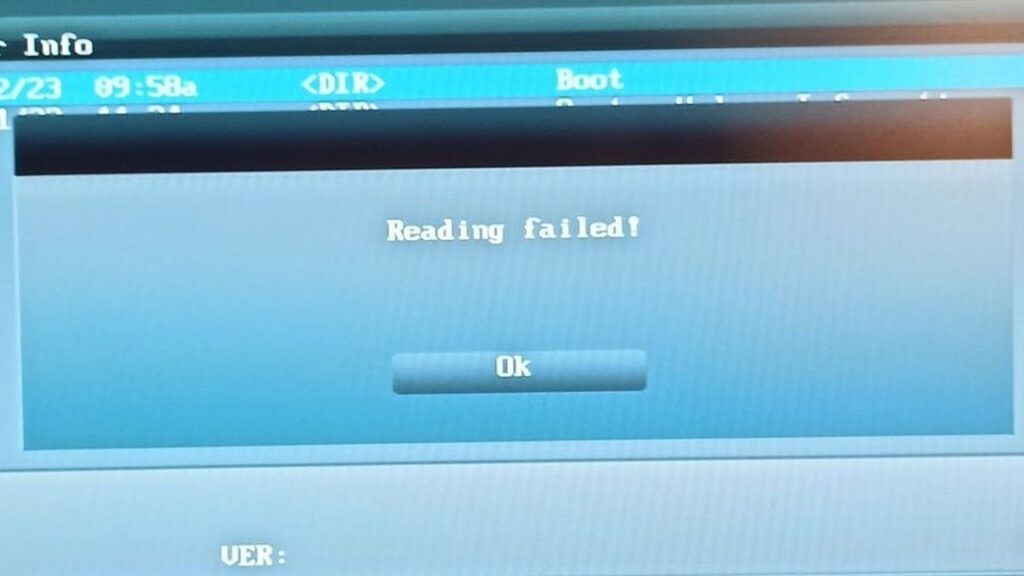
One common practice among users of older boards like the P8H67 is to update their BIOS for better security and new features. However, updating the BIOS isn’t always smooth sailing. Some users encounter a frustrating issue: the computer reboots, not into the BIOS, but into the Asus Easy Flash utility, displaying an error reading “Failed.” While this may seem alarming, the utility is a built-in safeguard to protect against failed BIOS updates, so you won’t need to resort to hardware flashing.
Let’s break down the main causes behind this BIOS update error and how to avoid or resolve them:
1. Incorrect BIOS Version
One of the most common reasons for a failed BIOS update is flashing an incorrect BIOS version. The Asus P8H67 motherboard has multiple revisions: the original P8H67, the P8H67V, and the P8H67M. Each version requires its specific BIOS file. Therefore, it’s crucial to ensure you’re flashing the BIOS that matches your motherboard revision to prevent failure.
2. Flashing BIOS from the Internal Storage
While it is possible to update the BIOS from an internal hard drive or SSD, it’s not the recommended method. For the best results, it’s always safer to use a USB thumb drive formatted in the FAT32 file system. The reason for this recommendation is that using internal storage may cause conflicts or errors during the BIOS update process, especially if the drive has other files or partitions.
3. Not Following Update Instructions
Sometimes, the issue may arise from not following the update instructions properly. A specific example occurred with a user trying to update the BIOS from version 1401 to 3801. When checking the official Asus website, the user would have found a note that clearly states a two-step update process. Specifically, when jumping from an older BIOS (version 14xx) to a newer version (30xx), users must apply the update twice for it to work correctly. This is a key detail that can easily be overlooked but is necessary to complete the process without errors.
A Unique Workaround for BIOS Update via Android Smartphone
In the case of a user who didn’t have a working USB thumb drive or another computer to create one, a creative solution was employed. An OTG USB adapter was used to connect a thumb drive to an Android smartphone. However, this approach came with its own set of challenges.
Many Android apps that format USB drives require root access, but one app that doesn’t require root is Easel to USB. To use this app effectively, you need two things:
A bootable ISO file (such as Microsoft DOS).
Patience to watch a few ads to enable the necessary functions in the free version of the app.
Once the ISO file is downloaded and selected, users can ensure the thumb drive is formatted in the FAT32 file system. After that, they can create the bootable drive on their Android phone. Next, the user can copy the correct BIOS file onto the drive using the Android file manager.
Final Steps for BIOS Update Success
After the thumb drive has been successfully prepared:
Insert it into the motherboard’s USB port (preferably a USB 2.0 port rather than USB 3.0 for compatibility).
Use the Asus Easy Flash utility to select and apply the firmware.
Wait for the update to complete, reboot the computer, and then enter the BIOS settings.
Save the default settings or manually adjust them as needed, and then save the changes.
Once completed, the PC should boot up with the updated BIOS without any issues.
Conclusion
While updating the BIOS on a 10-year-old motherboard like the Asus P8H67 may seem daunting, it’s entirely possible with the right preparation and attention to detail. By ensuring the correct BIOS version is selected, using the proper update method, and following the instructions carefully, users can keep their P8H67 running smoothly for many more years to come. If you’re ever in a situation where you need to use a workaround, such as formatting a USB drive via an Android smartphone, remember to take your time and double-check each step.
ChatGPT can make mistakes. Check important info.