So, you want to forward some of the messages in your Gmail account to another email, but when you try to create a filter, you notice that the “Forward it” option is grayed out. What’s going on? And how can you solve this problem?
This guide should help you set up email forwarding using filters in Gmail and overcome the annoying grayed-out “Forward it” option.
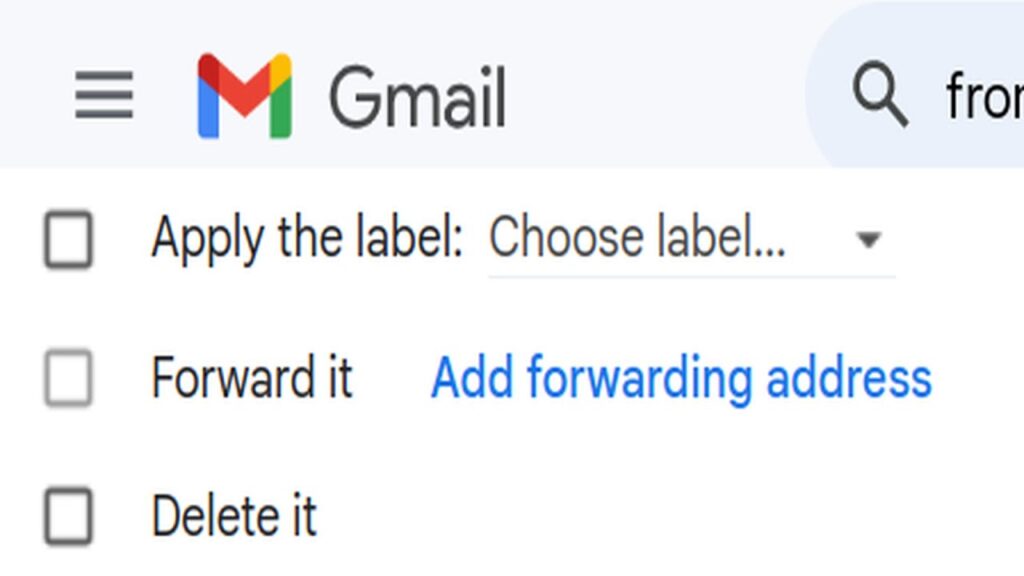
The issue you’re encountering is that Gmail requires you to first add a forwarding address before you can use the filter to forward specific emails. But when you click on the “Add forwarding address” link, you’re redirected to the settings, where you can add an address, but there’s still no clear way to proceed with filtering emails for forwarding.
This has been an ongoing issue for at least 5 years, and Google has yet to address it. But don’t worry—this tutorial will walk you through the solution.
Step 1: Add a Forwarding Address
You do need to add a forwarding address in your Gmail settings. This doesn’t mean that all of your mail will automatically be forwarded, though. To begin, click the “Add forwarding address” link and enter the email address to which you’d like to forward your messages.
If you’re doing this on a PC, you can use a Gmail account. If you’re using the Gmail app on your phone, you’ll need to confirm the action on your phone as part of the verification process. After you do that, Gmail will send a confirmation link to the email address you’ve entered.
Step 2: Verify the Forwarding Address
The recipient of that email must click on the confirmation link to verify that they want to receive mail from you. This step is most likely in place to avoid spammers. If they haven’t received the email or have deleted it by mistake, you can resend the confirmation link or remove the email address from the settings.
If you’re using a corporate Gmail account through G Suite, you may not have the option to add a forwarding address. In that case, you’ll need to reach out to your IT administrator to enable this feature for you.
Step 3: Create the Filter
Once the recipient clicks the verification link, the email address will be confirmed, and the forwarding feature will be activated in your Gmail account. By default, forwarding will still be turned off, but now you can proceed with creating the filter.
Go to the filter settings, and you’ll see that the “Forward it” option is no longer grayed out. You can now select the verified forwarding email address from the drop-down list. Any emails that match the criteria you set in your filter will be forwarded to that address.
Step 4: Apply the Filter to Existing Emails
If you want to forward any existing emails that match your filter criteria, you can check the option to apply the filter to existing messages in your inbox. After confirming this action, the selected emails will be forwarded as well.
Step 5: Adjust or Remove the Filter
If you ever want to stop the forwarding, you can simply delete the filter from your settings or remove the forwarding address from Gmail. It’s easy to change the settings or stop forwarding entirely at any time.