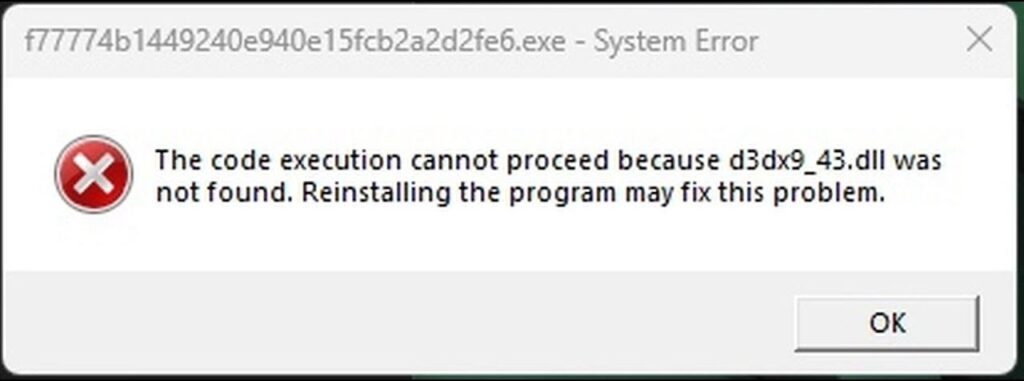
Have you ever tried launching a program only to be greeted with the dreaded error message: “The code execution cannot proceed because D3DX9_43.dll was not found. Reinstalling the program may fix the problem”? If so, you’re not alone. This error occurs because your system is missing a crucial DirectX 9 file.
In older versions of Windows, fixing this issue was as simple as installing DirectX. However, on Windows 10 and 11, DirectX 12 is built directly into the system and is updated exclusively through Windows Update. This means you can’t install DirectX the traditional way. Fortunately, there are still ways to install the necessary runtime libraries and resolve the issue.
Installing DirectX Runtime Libraries
To get the missing DirectX 9, 10, and 11 runtime libraries on Windows 10 and 11, you need to download one of two packages from Microsoft’s website:
DirectX Web Installer – A small file that downloads everything it needs from the internet during installation.
DirectX Redistributable (Offline Installer) – A larger package that contains all necessary files and doesn’t require an internet connection during installation.
Both installers attempt to install the DirectX SDK on your system. However, if you’re running the latest version of Windows 11, you might encounter an error stating: “An internal system error occurred. Please refer to the log files in your Windows folder to determine the problem.”
Why You’re Getting This Error
If you search online for solutions, you’ll find a lot of generic troubleshooting tips like running the installer as an administrator, installing Windows updates, or installing Visual C++ Redistributables (which are unrelated to DirectX). However, one useful solution has to do with the version of Windows you’re using.
Windows has specific editions called K and N, which lack certain media features due to regulatory requirements in Europe and South Korea. These stripped-down versions often cause problems when installing DirectX.
Fixing the Issue by Installing Missing Features
If you’re using a K or N edition of Windows, follow these steps:
Open Settings and search for Optional Features.
Click on Add a feature.
Search for and install Graphics Tools.
Search for and install Media Feature Pack (if available for your version of Windows).
Restart your PC and try installing DirectX again.
On older versions of Windows 10, you can download the Media Feature Pack directly from Microsoft’s website.
Enabling Legacy DirectPlay
Another possible solution is to enable DirectPlay, an old DirectX component that some older programs still require:
Open Control Panel.
Go to Programs and Features > Turn Windows features on or off.
Expand Legacy Components and check DirectPlay.
Click OK, follow the prompts, and restart your computer.
The Last Resort: Manually Adding the Missing DLL File
If none of the above methods work, you can manually download the missing D3DX9_43.dll file and place it in the correct folder. Here’s how:
Search for a trustworthy website that provides DLL files (exercise caution and ensure you download from a reputable source).
Download D3DX9_43.dll and extract it if it’s in a compressed format.
Copy the DLL file to the folder where the program is installed.
Try running the program again.
Note: Some DLL files come in both 32-bit and 64-bit versions. If one doesn’t work, try the other.
Conclusion
While Microsoft’s newer Windows versions make it harder to install older DirectX components, you can still get your programs running with a few workarounds. Whether it’s installing missing features, enabling DirectPlay, or manually adding the required DLL files, one of these solutions should get your software working again.
Have you encountered this issue before? Let us know in the comments how you fixed it!